|
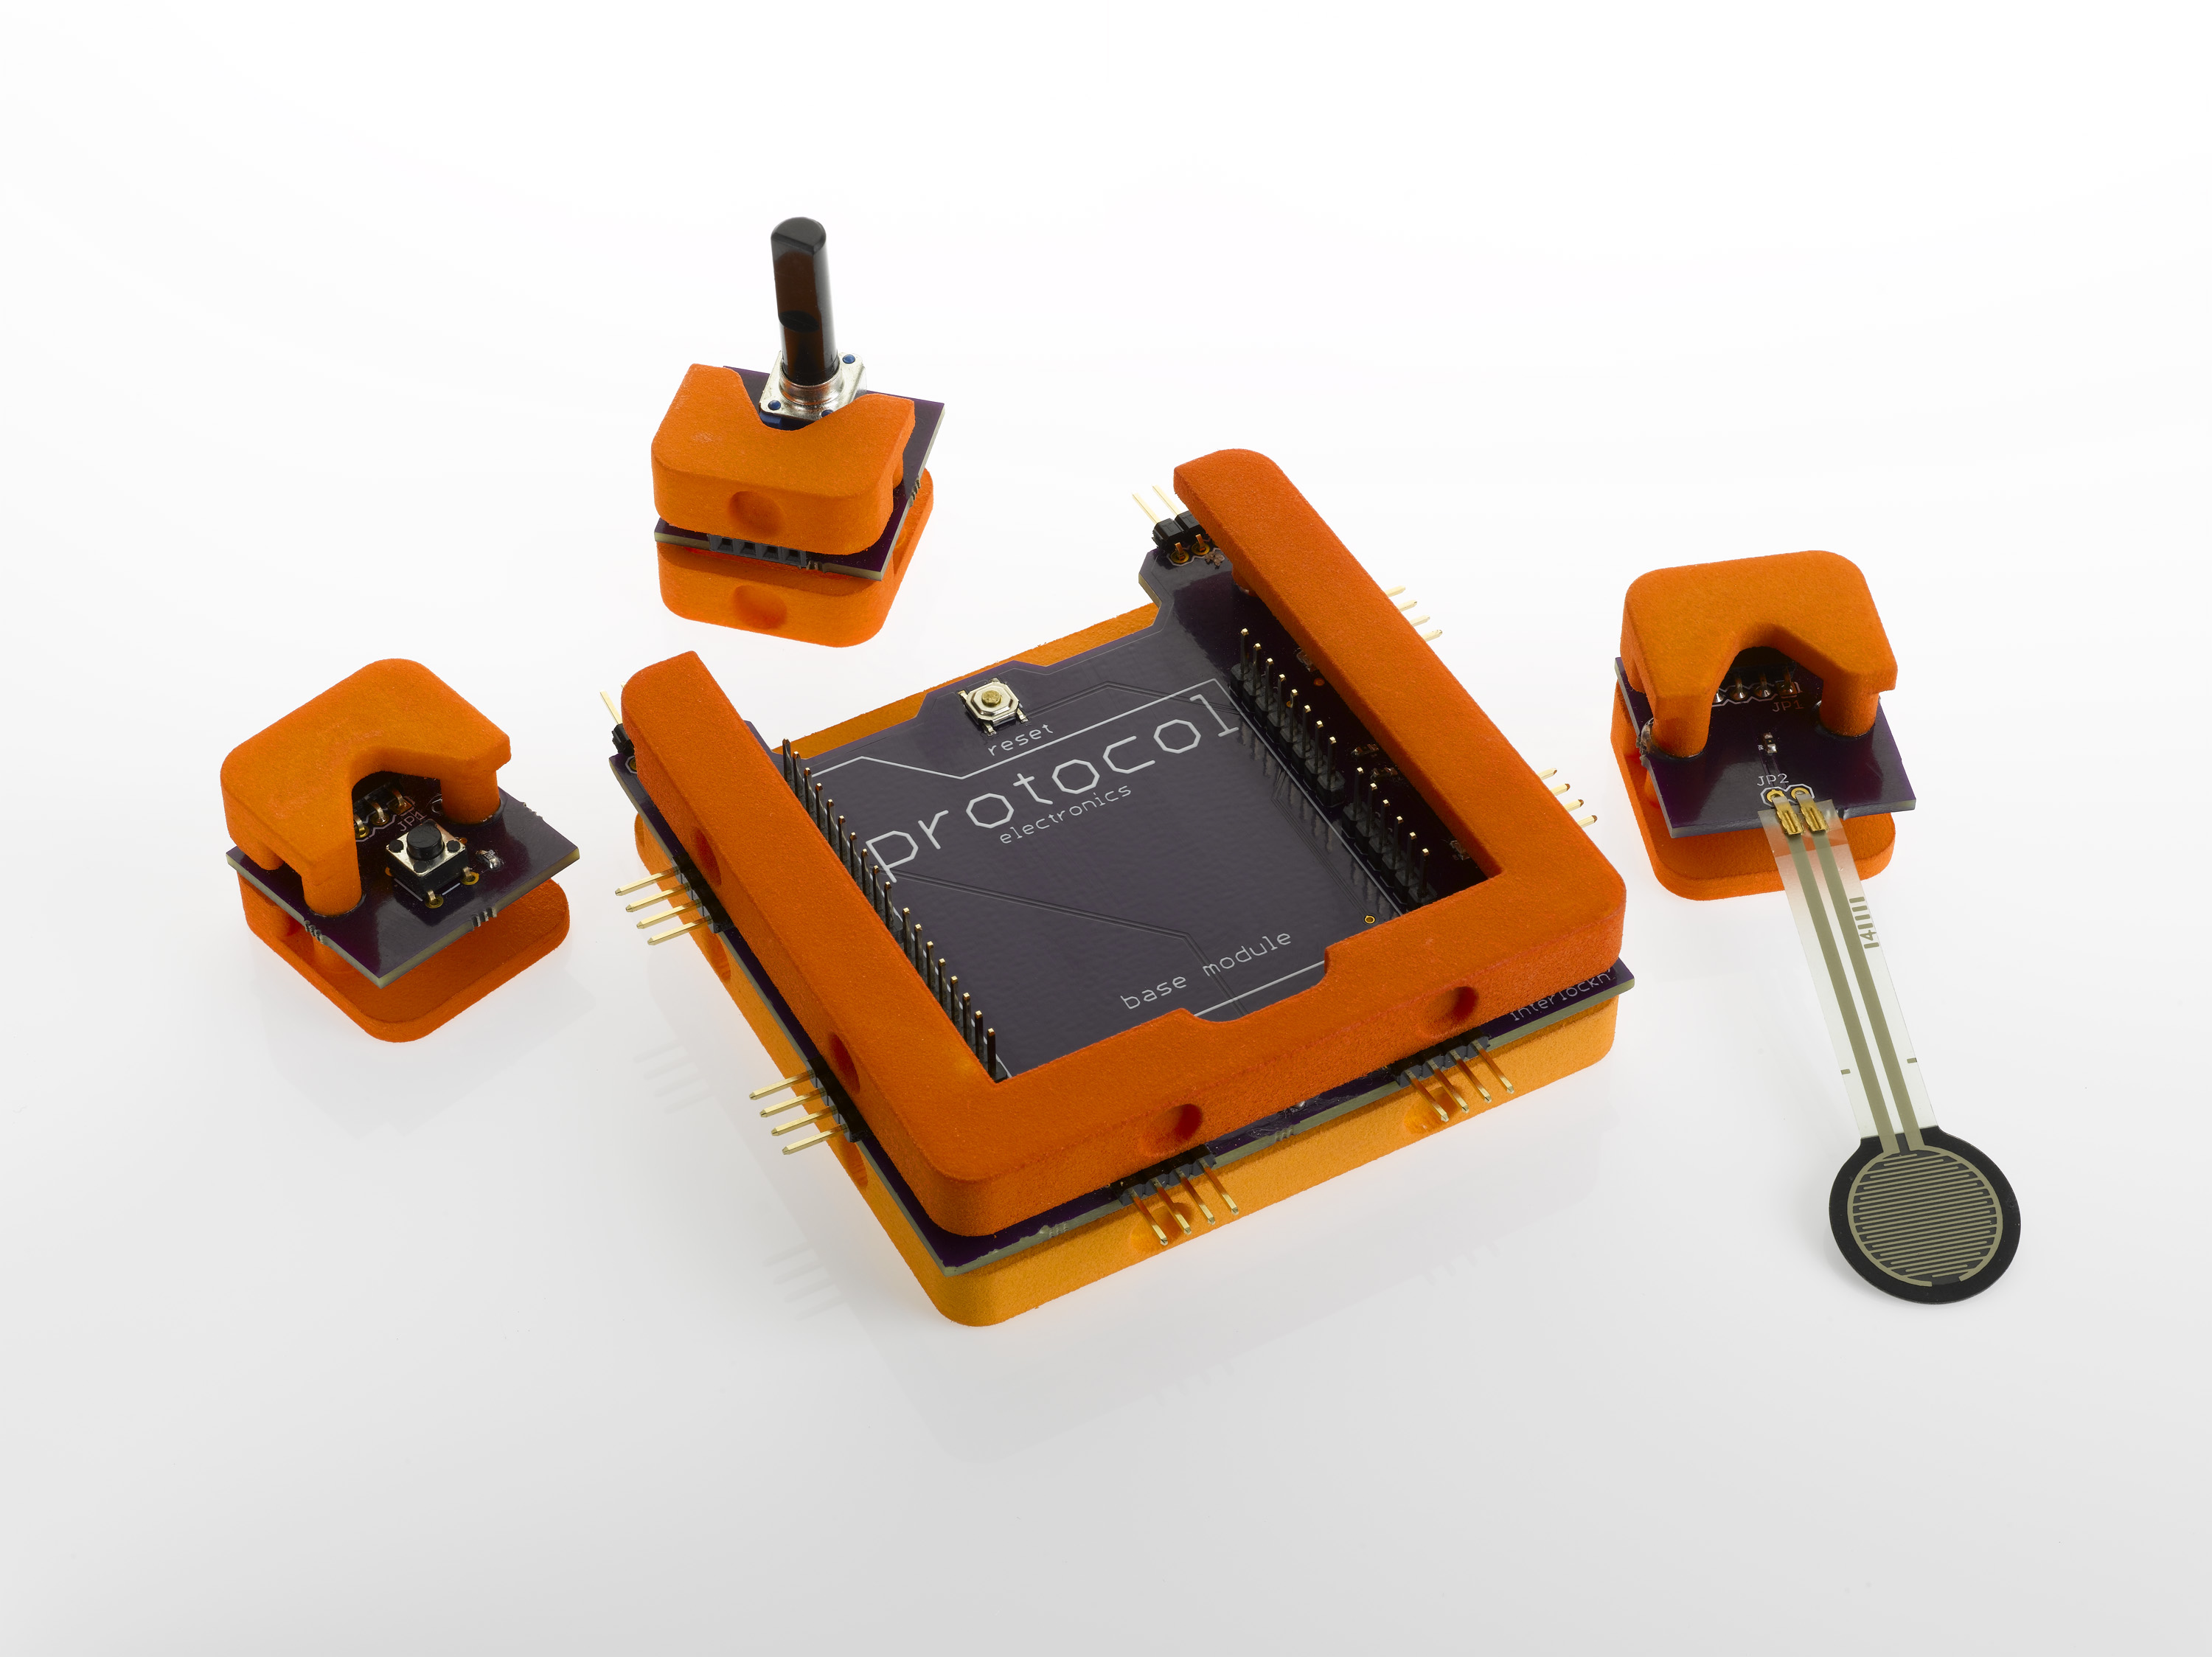
Protocol dev. board and accessories |
|
Schools Protocol for middle and high school |
|||
|
Contact Contact us |
Arduino Info on the Arduino platform |
||||
Hi! We're glad you're here. This tutorial is the "Hello World" of embedded electronics - it's made to get you up and running in the world of embedded electronics.

Insert your programming board of choice into the protocol main board. Ensure that the USB port is pointing towards the opening in the enclosure and that all of the male pins on the main board line up with the female pins on the programming board.
ensure that all of the gold pins are lined up correctly, or the system will not function properly.
Identify the LED protocol board. Insert the board into one of the main board's digital ports. Remember which one you plugged it into! (we will need this piece of informaiton later)
Attach the USB cable that works with both your computer and your programming board into your programming board and the computer USB port
If you have not yet installed the Arduino IDE now is the time to do so. follow this link to download and install the IDE. After this process is complete, your screen should look like this:
It's time to upload some code! copy and paste the code in between the lines into the IDE (the arduino program).
/*
  This sketch is example code for the LED module

  By Samuel Cohen for Protocol Electronics LLC

  Plug an LED module into the apropriate port to make this code work.
 */

int LEDPin = 3; //This variable remembers the pin number for the LED module. Insert the pin number that you selected earlier instead of 3.
void setup() {
  pinMode(LEDPin, OUTPUT); // This assigns our LED pin to an output so that the programming board can manipulate it.

}

void loop() {
  digitalWrite(LEDPin, HIGH); // turn the led ON
  delay(1000); // wait for 1000 milliseconds
  digitalWrite(LEDPin, LOW); // turn the led OFF
  delay(1000);

}
Hit the upload button in the very top left of the IDE and wait until the board finnishes uploading. When the light starts blinking, your done! Try changing the delay times in the code and re-upload. What happens? (delay is measured in milliseconds, so change it by a couple hundread, not one or two) Change one delay time but not the other, what happens then?